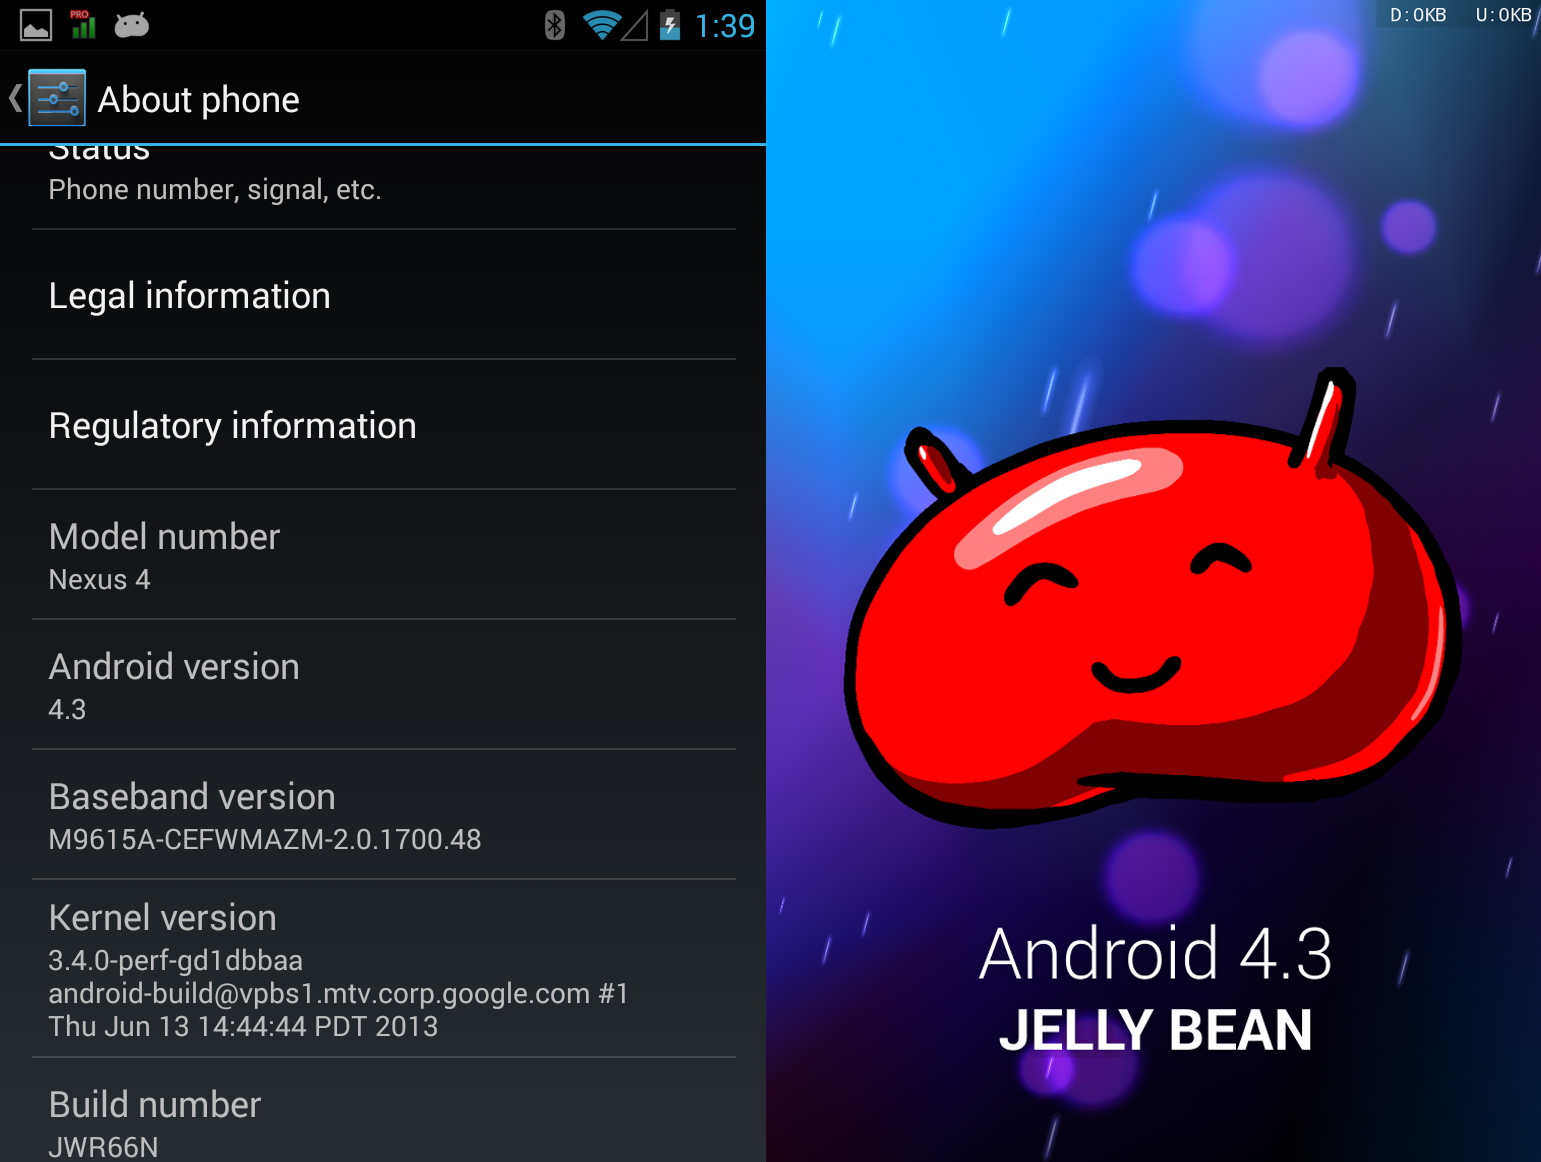
Several hours ago, an Android 4.3 system dump was leaked for the Nexus 4. As it turns out, even though the bootloader and the radios weren’t included, the system dump is totally bootable. If you want to try it out, it’s easy to do so, but be prepared to have your bootloader unlocked and flash some zips via a custom recovery.
Disclaimer: YouFrisky isn’t responsible for any harm to your device – proceed at your own risk.
Note: In order to flash this, you don’t actually need to be rooted – all you need is an unlocked bootloader which allows flashing a custom recovery. Also, as I mentioned before, you don’t lose your data.
- Make sure your bootloader is unlocked.
- Flash your favorite recovery. In my case, I flashed TWRP because CWM had some issues with a later step. Get TWRP >> http://www.teamw.in/project/twrp2/129
- Make a nandroid backup of your current ROM from within the recovery. Just do it. If something goes wrong, you will have an easy way back.
- Download zip file >> http://forum.xda-developers.com/showthread.php?p=43707180.
- Hook up your Nexus 4 to your computer via USB and make sure you have the Android SDK installed and adb working.
- Reboot the Nexus 4 into recovery (easiest way is adb reboot recovery).
- A modern recovery like TWRP supports the adb sideload feature. Go to Advanced -> ADB Sideload within TWRP. Check both Wipe Dalvik Cache and Wipe Cache boxes.
- Open up a command prompt on your computer and type in adb sideload followed by the path to the zip you’ve downloaded in step 4. Alternatively, you could have copied the zip to your phone first and then flashed it using the conventional Install/flash zip recovery menu. adb sideload is a bit easier and more elegant in my opinion, but it’s up to you.
- Watch the ROM slowly but surely get flashed.
- Reboot.
- Now check for root by starting Titanium Backup. A root checker application may actually tell you’re rooted, but TB said it wasn’t for me and some others, for example. Neither did ROM Manager. If root really works for you at this point, you’re done. If not, proceed to the next step.
- If you’re having problem with root, flash SuperSU. I’ve seen people complain that doing so via CWM doesn’t work, but flashing through TWRP and selecting Fix Superuser Permissions at the end does the trick. It’s certainly done it for me and everyone who I saw try.
- OK, now you’re really done. Go explore Android 4.3!
The post How To Update The Nexus 4 To Android 4.3 (JWR66N) appeared first on YouFrisky.